Did you know that the Tweets that you post are public by default? What happens if you don’t want to share your thoughts with complete strangers? That’s when you learn how to make your Twitter private.
Making Twitter private means that you’ll be enabling the Protect Tweets option, and you’ll only be sharing content with your followers. If anyone outside of this circle wants to see your Tweets, you’ll first need to approve their request.
Table of Contents
How to Make Your Twitter Account Private From a PC:

On the right of your username, click the “Privacy and Safety” tab. Then click “Protect your Tweets,” and a pop-up window will appear to request confirmation to make your Twitter account private.
If you don’t want random users, fake and ghost followers on your profile, the best thing to do is use the Tweet feature that allows you to keep your Tweets private. This platform has over 186 million active daily users, so it’s understandable if you want to keep a tight circle and don’t want to share with millions.
Protect Twitter On Web Browser

If you want to switch your account to private on your laptop or computer, go over these steps:
- Type in www.twitter.com on your browser.
- Log in to your account to access the home page.
- Once you do, find the three dots from the menu located on the left side of the screen. This is also known as the More option.
- Choose the Settings and Privacy option.
- You’ll now see the Settings page, where you should select the “Privacy and Safety” option.
- Next, choose “Audience and Tagging”.
- There will be an empty box right next to “Protect Your Tweets”. Check the box to make sure that your Tweets are no longer public.
- Choose “Protect” to save the changes. If you change your mind, and you want your Tweets to be public, click on “Cancel”.
How to Make Your Twitter Account Private From iOS:

iOS users can make their Twitter account private by following these steps:
- Start by opening Twitter on your iOS smartphone or tablet.
- Tap on the profile icon located in the top left corner under the Twitter search bar.
- Find the Settings and Privacy option under your Twitter username.
- Next, you should find the “Protect Your Tweets” section and tap on the slider so that it’s on. Once it’s green, it means that your tweets are private and only people who follow you can see them. Some phones might require you to check a box next to “Protect your Tweets” instead of asking to drag a slider.
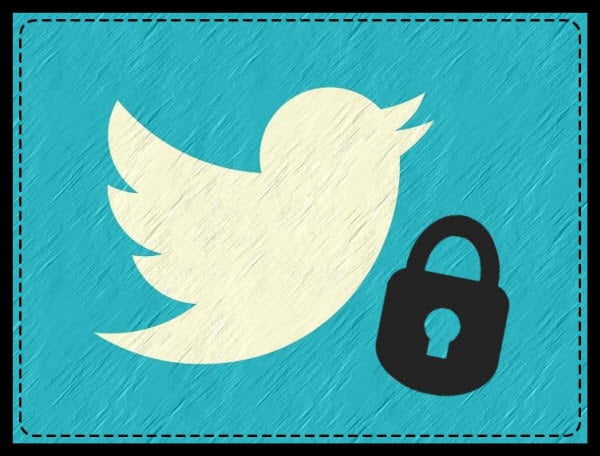
One of the best ways to know that you’ve switched from public to private is seeing a padlock right next to your profile. This means that your tweets are no longer public, and only your followers will be able to see them. You’ll need to accept and approve all the other users who don’t follow you but want to see your Tweets. Also, if you see other accounts with the same padlock icon on their profile, their accounts are protected too.
How to Make Your Twitter Account Private From Android

If you’re looking to make your Tweets private on an Android device, these are the steps you should follow:
- Enter your password and username to log in to your Twitter account.
- You’ll either see three lines for the Twitter Menu or your Twitter profile icon in the top left corner. Tap on it.
- When you do, you’ll see a drop-down menu appear on your screen. Next, tap on the Settings and Privacy section.
- You should now find the Protect Your Tweets option under the Tweets section. Tap on the slider to turn it on and it will turn green. Depending on your Android device, you might need to check the box that appears instead of dragging a slider.
Conclusion
Protecting your Twitter account sometimes is not enough. Although this is a public social media platform, sometimes you want to have even deeper protection and only communicate with people who follow you. If your primary concern is ‘how to make my Twitter private,’ these three guides will take you through every step of the process, no matter the type of device you use.
- Should You Buy Twitter Followers? - January 8, 2023
- What is The Follow Limit on Twitter? - January 8, 2023
- Twitter Auto-Follow – What Is Auto Following and How Does it Work? - January 8, 2023

